
 SEARCH

How to Set Up E-Commerce Tracking Properly and Why It’s Important For E-Commerce Sites
September 27th, 2019
posted by Radomir Basta to Ecommerce, eCommerce SEO, Google Analytics, Metrics Tracking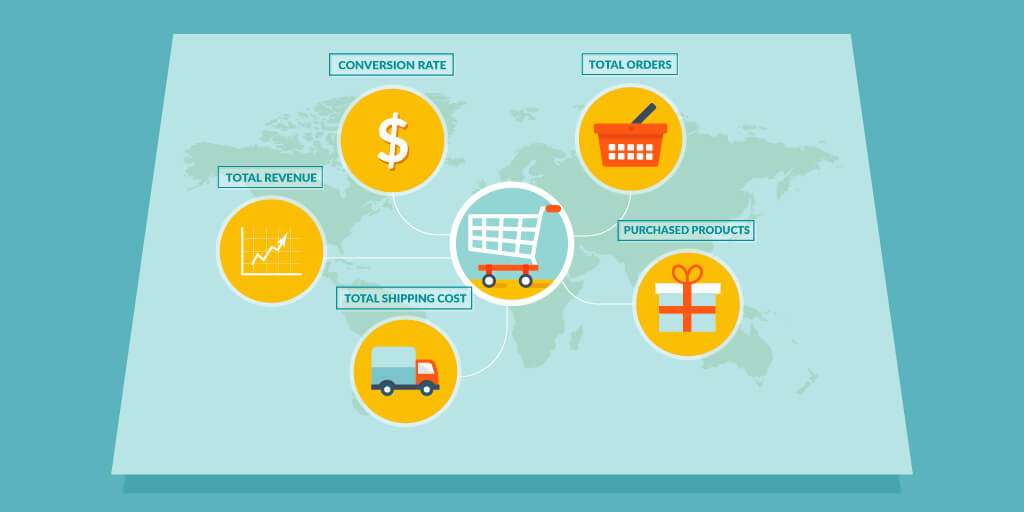
The realm of digital marketing and e-commerce is an ever-changing world in which the art of adapting is crucial for success. The new and advanced technologies, business models, services, and strategies are setting new standards rather often and if you want to keep up with your competitors and thrive in this market, you must always stay ahead of the curve.
Achieving this is rarely possible without the use of Google Analytics.
This potent tool allows you to track the majority of crucial metrics, including:
- how many people visited your site or a certain page
- how long they remained there
- their location
- how the chosen keywords and strategies are performing
- bounce rate
- lead generation costs (cost per conversion), etc.
Website owners, regardless of their niche, should use Google Analytics 4 on a daily basis. This is especially important for e-commerce website owners as, without this type of valuable data, they probably wouldn’t be able to keep up with new trends and their competition.
So, if you are in the e-commerce business, you should stick around because we are going to talk about how to set up E-commerce tracking properly and why it is important for e-commerce website owners.
Why E-Commerce Tracking Is Crucial For E-commerce Websites
It is hard to imagine the success of E-commerce websites and online stores without the daily utilization of Google Analytics. This is because the E-commerce business thrives on data.
More precisely – correct and actionable data that can help you improve your strategy and make better, data-driven decisions.
Look at it this way – accurate data can help you to convert new leads, find new customers, and drive revenue. On the other hand, misinterpreted data, or simply not having access to valuable data, can cost you your business. For a startup company or an online store that is trying to make a breakthrough on the market, every sale counts. So, if you want to succeed, you have to use Google Analytics and E-commerce tracking in order to get the most accurate data related to your business. Acquiring information about your online marketing and sales strategies allows you to easily beat your competitors who perhaps don’t have this kind of information or don’t know how to use it to their advantage. Knowing which trends are welcome on the market and which are not provides you with a chance to avoid potential damage and loss of profit.

Also, this type of insight allows you to better observe the behavior and shopping habits of your customers. This can help you anticipate the changes in the market which allows you to adjust your marketing strategies, introduce new products, and keep people interested in your brand.
How To Set Up E-commerce Tracking In Google Analytics On Shopify and Woocommerce
In case you are new to Google Analytics or the E-commerce business in general, you might not know how to set up E-commerce tracking. Don’t worry, we will take you through the steps.
However, before we start with the walkthrough, you should know that there are two types of E-commerce tracking – standard and enhanced (the difference between these two types of tracking is explained later in the article). We will show you how to set up both of them in Google Analytics. To do this, we will use examples from the two most popular platforms out there – Shopify and WooCommerce.
Setting Up Standard E-commerce Tracking On Shopify
Step 1: In your Google Analytics account, click Admin.
Step 2: Next, in the View menu, click E-commerce Settings.
Step 3: Click the Enable E-commerce toggle to turn on tracking
As you can see, turning on E-commerce tracking is rather simple. However, if this is not good enough for you and you want to acquire more information, you should set up Enhanced E-commerce tracking in your account.
However, this is just one part of the process. If you want E-commerce tracking to work properly, you have to send acquired data from your online store to GA in a required format. This is done within the platform itself by copying the GA code into Shopify or WooCommerce, depending on which one you use.
Setting Up Enhanced E-commerce Tracking On Shopify
Step 1: Again, click on Admin.
Step 2: Click Online Store > Preferences.
Step 3: Then, in the Google Analytics section paste the UA code and click the Use Enhanced E-commerce checkbox.
Step 4: Save
Step 5: In your Google Analytics account, click Admin again.
Step 6: In the View menu, click E-commerce settings.
Step 7: Click the Enable Enhanced E-commerce Reporting toggle to turn it on.
Setting Up Enhanced E-commerce Tracking On WooCommerce
Before we start with the steps, you should know that having Google Tag Manager for WordPress by Thomas Geiger plugin is the fastest and simplest way to set up enhanced E-commerce tracking in WooCommerce.
You can download it here or directly from WordPress.
Also, you can find the instructions on how to install this plugin here.
Step 1: Enable enhanced E-commerce tracking in plugin settings
- Open plugin settings page in your WordPress which is located under Settings / Google Tag Manager
- Click on the Integrations tab
- Click on the WooCommerce sub-tab
- Check the Track Enhanced E-commerce box
- Save changes
Step 2: Make sure your GA Pageview tag is set to Universal Analytics
- Go to Workspace and click on Tags
- Find GA Pageview tag and make sure it’s set to Universal Analytics
Step 3: Enable Enhanced E-commerce in Universal Analytics tags
- Go to Tag Configuration and check the Enable overriding settings in this tag box
- Then, go to More Settings > E-commerce and set Enable Enhanced E-commerce Features to True
- Check the Use Data Layer box
Step 4: Make sure the Trigger Type is Page View – DOM Ready
- Go to Trigger Configuration and set Trigger Type to Page View – DOM Ready
- Check the All DOM Ready Events circle
Step 5: Create a Custom Event trigger
- In the Trigger Configuration menu set Trigger Type to Custom Event
- Use the Event Name we will provide in the screenshot below (event name: gtm4wp.addProductToCartEEC|gtm4wp.productClickEEC|gtm4wp.removeFromCartEEC|gtm4wp.checkoutOptionECC|gtm4wp.changeDetailViewEEC )
- Make sure to check the Use regex matching box
- Name your trigger as you want and save it (for example: Event – E-commerce Events)
Step 6: Create a Universal Google Analytics Tag
- Chose Universal Analytics Tag Type
- Select Event as a Track Type
- Define values for Event Category, Event Action & optionally for Event Label (for example Event Category = E-commerce Helper)
Event Action = {{Event}} - Enable every feature you already enabled in other Analytics tags (like display features, enhanced link attribution, etc.) or select your Google Analytics settings variable if you have created one previously
- Click on the More Settings section and under E-commerce features select TRUE from the Enable Enhanced E-commerce Features dropdown and then check Use Data Layer checkbox
- Attach previously created a trigger to this Tag and save your tag
The Importance Of Dynamic Conversion Value
Tracking your conversions is a great way to see exactly how much your customers have spent on specific products and which items and ads are bringing you the most profit.
Also, not all consumers will buy the same amount of a certain product, so if you are interested in having accurate reports, the dynamic conversion value should be one of your priorities.
This feature allows you to keep track of all your ads across different platforms, which means you can easily see which ads are bringing in most of the money. This way you can calculate ROAS (return on ad spend) and ROI (return on investment), which is crucial for every E-commerce website.
The steps below will show you how to set up this feature for Shopify (steps for WooCommerce are linked below this section).
Step 1: Create a conversion action in Google Ads
To set up Google Ads conversion tracking, follow these Google Ads instructions.
In order to track purchases so you can see how effective your ads are at generating sales on your website, set the category to Purchase/Sale, and the value to Use different values for each conversion.
When you’re done creating your conversion action, click create and continue.
Step 2: Install the global site tag
After creating the conversion action, you need to install the global site tag in your Shopify theme code.
Here’s how to do this:
- When you get to the “Set up the tag” step in Google Ads, choose Install the tag yourself option.
- In the Global site tag section, select the option that applies.
- Copy your global site tag.
- Open your Shopify admin in another window and go to the Online Store.
- Click Actions > Edit code.
- Open your theme.liquid file.
- In case this is the first time you’ve installed a global site tag, paste the copied global site tag between the <head> and </head> tags to apply the tag to every page across your store.
Source: Shopify
- If you’re editing an already installed global site tag, then locate the tag in your theme.liquid file and change the code according to the instructions given by Google Ads.
- Click Save.
Step 3: Install the event snippet
After setting up the global site tag, you have to install the event snippet. This snippet tracks a conversion any time somebody clicks one of your ads and then later reaches the checkout page on your website or an online store.
Here’s how to do this:
- In Google Ads, in the Event snippet section, select Page load.
- Copy the event snippet code.
- In your Shopify admin click Settings > Checkout.
- Paste the event snippet in the Order processing section, in the Additional scripts text box. In case you have code in the Additional scripts text box, add the event snippet in a new line below.
- To prevent duplicate conversions, you have to add tags before and after the event snippet. This way it will trigger once per customer.
- On the line before the snippet, paste {% if first_time_accessed %}.
- On the line after the snippet, paste {% endif %}.
- The default currency is USD. If you don’t sell in this currency, replace ‘USD’ in the event snippet with ‘{{ shop.currency }}’.
- The default transaction ID is blank. To prevent duplicate conversions, next to ‘transaction_id’: replace ” with ‘{{ order_number }}’.
(Source: Shopify)
- Click Save
Step 4: Make the conversion value dynamic
If you’re tracking purchases on your online store, then, logically, the value of each conversion is different.
To track a different value for every conversion, you need to edit your event snippet to use values that are specific to each transaction made on your website or an online store.
Here’s how to do this:
- Open your Shopify admin and click Settings > Checkout.
- In the Order processing section, in the Additional scripts text box, find the event snippet you added in the previous step.
- Replace the line beginning with ‘value’: with one of these snippets:
– To exclude taxes and shipping from the conversion, replace it with this snippet:
‘value’: {{ checkout.subtotal_price | money_without_currency }},
– To include taxes and shipping in the conversion, replace it with this snippet:
‘value’: {{ checkout.total_price | money_without_currency }}.
Source: Shopify
You can see the instructions for setting up Dynamic Conversion value on WooCommerce here.
Standard E-commerce Tracking vs Enhanced E-commerce Tracking
The majority of small business owners and new E-commerce websites tend to use standard E-commerce tracking because it’s much simpler and less time-consuming. This is perfectly understandable, especially considering the fact that the standard type of tracking is sufficient for their business. However, for someone who is in charge of a bigger corporation or a more popular E-commerce website, enhanced e-commerce tracking should always be a go-to option.
Therefore, let’s see what these two tracking options can offer you.
With the Standard E-commerce tracking you can track these things:
- Total Orders
- Total Tax Cost
- Total Shipping Cost
- Total Quantity Purchased
- Products Purchased
- The Number of Products Purchased
- The Category of Products Purchased
- Conversion Rate
On the other hand, here are the things you can track with Enhanced E-commerce tracking:
Purchases
- Total Orders
- Total Refunds
- Total Tax Cost
- Total Shipping Cost
- Total Revenue
- Total Refund Amount
- Total Quantity Purchased
- Products Purchased
- The Number of Products Purchased
- The Category of Products Purchased
- Order Coupons
- Buy to Detail Conversion Rate
- Cart to Detail Conversion Rate
- E-commerce Conversion Rate
Cart Stats
- Products Added to Cart
- The Number of Products Added to Cart
- Products Removed from Cart
- The Number of Products Removed from Cart
- Product Checkouts
Products
- Product Detail Views
- Product List Clicks
- Product List Views
- Product Coupons
Enhanced E-commerce tracking also allows you to see how many users have gone through the checkout process and how many of them abandoned your site without buying anything. Besides the behavior of your customers, Enhanced E-commerce tracking provides you with a chance to see whether or not your banners and promos have been successful.
Conclusion
It doesn’t matter what business niche you are in, if you want to succeed in your field, you have to use Google Analytics to track your conversions and get the most accurate data. This is especially important if you are in the E-commerce industry. Using old or inaccurate data can literally cost you your business. This is why people from this niche often say – it is better to make decisions from scratch (without any data available), than to make data-driven decisions based on false metrics. However, in order to avoid any shots in the dark, you should set up E-commerce tracking for your online store.


